PermalinkCreating Docker Images
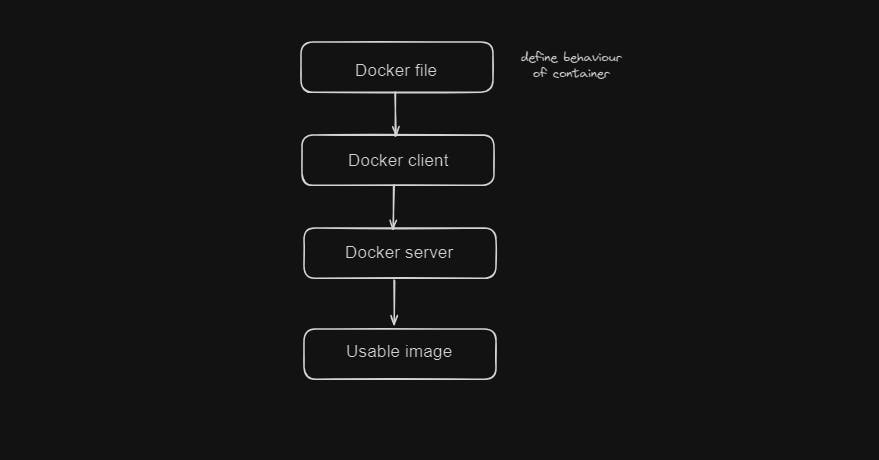
First, we need to define what programs our container contains and how is it going to behave on startup.
This docker file is then passed to Docker CLI which we use in the terminal.
This Docker CLI will pass it to the Docker server. The Docker server looks at every line of configuration of the container and builds a usable image. All the heavy lifting is done by the Docker server.
PermalinkBuilding Docker File

Let's look at an example by running Redis.
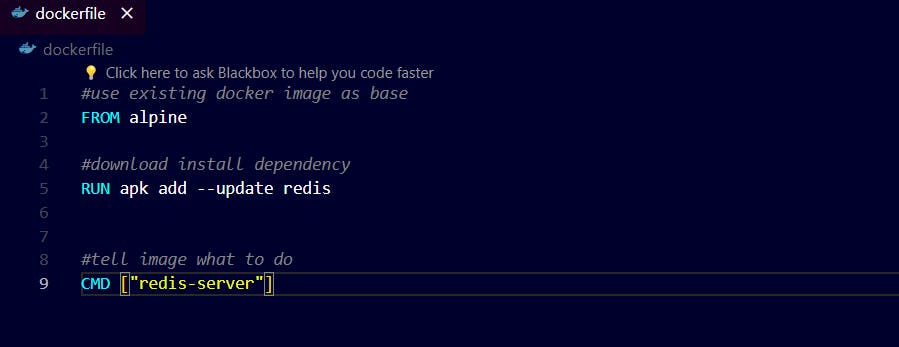
Then go to your terminal


teardown:

PermalinkBase Image
In the previous example we used Alpine as a base image but why did we do that?
It's because Alpine comes with a pre-installed set of programs that are useful for us. apk is a package inside Alpine that is used to run the Redis server.
PermalinkThe Build Process

In this command the docker first checks have we first installed Alpine before. If we haven't it downloads the image for us.

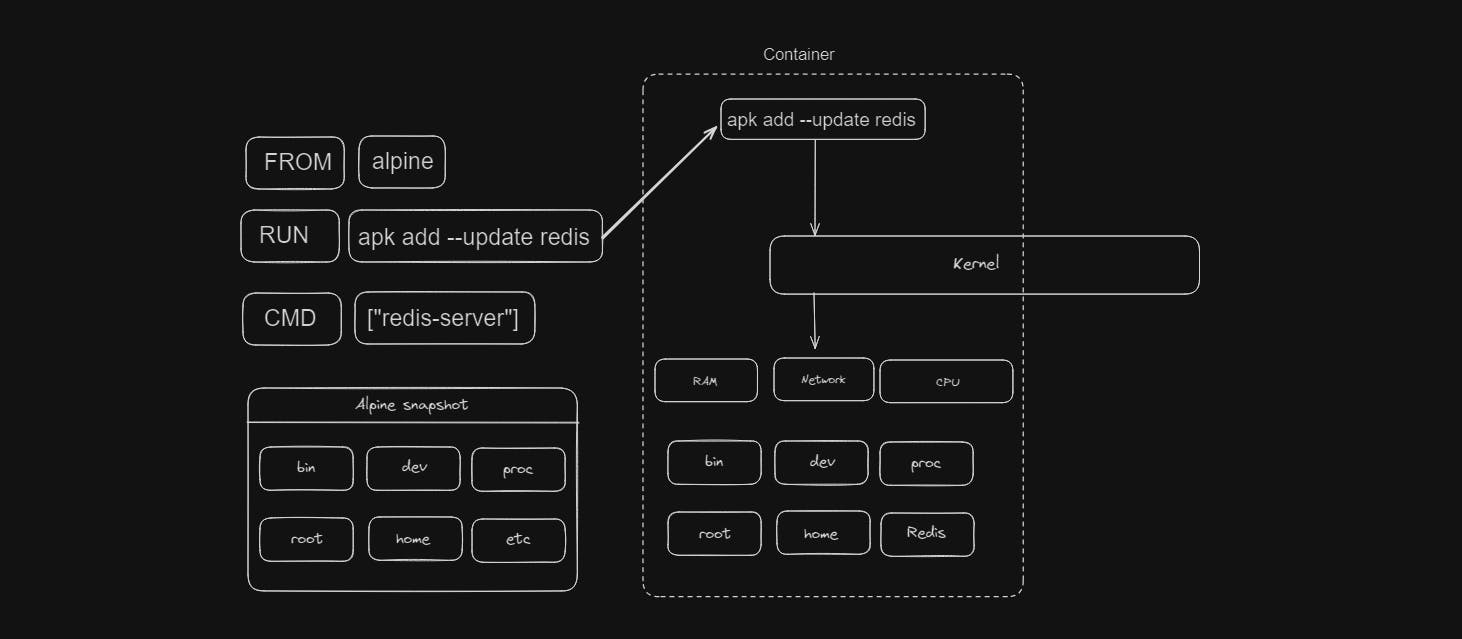
On RUN command first a container is created from the image generated from the previous step. Then the dependencies for Redis are downloaded. Then Redis is installed in the container. Then the container is stopped and file system snapshot of Redis is taken from the container.

This command is the final step it tells what to do. It generates the final image. This step also creates a container and executes commands in it. Then the container is shut down.
PermalinkRebuilds with cache
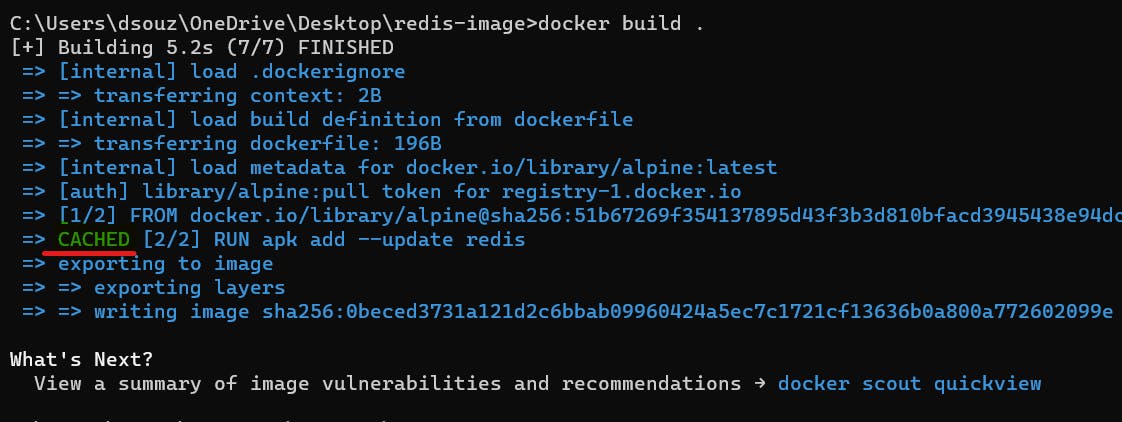
On running the same file again in docker, Docker realizes it has executed the same commands before. The images are stored in cache and it uses the same image again. This helps to improve the performance of docker. The docker can see we are using the same file with no changes so it uses the cached version and the build process will be comparatively faster.
PermalinkTagging An Image
Using the Docker Run command with the id of the image can be hectic sometimes. To solve this issue we can tag the image.
Syntax:


